January 22, 2012

Before Meets After: Candle Holder

The Goodwill is a treasure trove of great craft finds -- the trick is to be able to look at an item and envision the possibilities. If you are anything like me, that vision sometimes takes a while to show up {sometimes it's a really long while...lol}but I'm learning that even though I may not know exactly what an item will turn into, I can definitely notice potential in it. Back in August I found these great little wooden boxes with a tray {that I'm sure in a previous life lived in the nursery of some sweet little angel} and as soon as I saw them I knew they would be mine and with a price tag of only $2.99 it was an easy decision to make the purchase.

Lately, I've been looking around our house and noticing that though we've been here three years now we still have lots to do to make this place feel as "home-y" as I would like. As we all know, life happens and sometimes the most basic things get placed on the back burner. Well, it's time to light the fire and I decided I would start with something small - a candle holder for our kitchen island{I have bigger plans for our master bedroom}.


Here is where the 'before' meets 'after'.....


And here is how it came to be the lovely piece that now adorns my kitchen island...

The first thing to do was to remove the little bear, bunny and sheep from the front of each box. This proved to be harder than I thought but with a little elbow grease I was able to get them and the mound of glue that was holding them off

I sanded each one with an 80-grit piece of sand paper to remove some of the paint and give it a more even finish but as you can see, each one of the boxes was left with a little 'scar' after the removal of the wooden animals {what to do about that...hmmm?}

A trip to Hobby Lobby {are you as in love with this store as I am?} and I found these great rustic/antique-ish looking spigot knobs that I immediately fell head over heels for...talk about love at first sight! My vision was becoming clearer.

Back home and it's time to spray paint the pieces. I used a gloss spray paint - almond color

To match the color that runs through my family room, kitchen and even my deck, I chose a wine acrylic paint to use as an accent color on the boxes. Using some painters tape, I taped off the small area at the top of each box that would be painted, then measured and drilled a hole in each box

Originally I wasn't sure what to do about the little 'scars' on each box. I thought about sanding and filling in the area but I didn't want this project to take too long {remember I have a bedroom begging for my attention...lol} so it made more sense to cover it - and I did. Using some wooden circles, I painted a simple design on each and drilled a hole

Adding some clear polycrylic to the wine colored band on each box and covering the designed circles as well, I have a finished project {and in record time I might add...haha}.

I'm happy with it and I think it looks beautiful in our kitchen! But alas, there is no rest for the weary for there are Valentine's to make for the both the little prince's preschool class and a customer, a gift to make for my sister's birthday {I'm so late...again!} and a party to get ready for to celebrate my one year blogiversary! Stick around, there is more great stuff to come including a GIVEAWAY for my anniversary.

January 16, 2012

A Fresh Face!

Ladies and Gentlemen. Introducing the star of the show, a new and improved blog -- Little Blue's Room!!! {APPLAUSE}

LOL...I'm being a bit silly but the truth is I'm as giddy as a kid on Christmas morning with my new blog! I can't thank my BFF's (Blog Frog Friends)enough for their help. I posted a question in the Mom Loop community asking for suggestions of someone who could help give my little blog a fresh face and sure enough several people offered names/websites/blogs. After checking everyone out, I decided on one and I couldn't be happier with the end result.

Now time to brag on the designer {smile}. If you are looking for a blog makevoer and you are hosted through Blogger, I would HIGHLY recommend Dirt and Lace Designs. Stephanie, the designer, took time to answer several of my questions (and I do mean several...hehe) before I committed to working with her. Once I had a complete understanding as to what was possible, our work began. She is patient and knowledgable but most of all extremely professional. Being new to the blogging world, I'm learning so much of this as I go (talk about trial by fire...hehe) so it was nice to work with someone who didn't find my questions to be a pain in the you know what. {smile}

I am so thrilled to finally have a blog that I think represents me and what I want my blog to be. We are still working to complete the final touches (she's preparing to welcome her third child) and just in time because I am gearing up for my one year blogiversary happening next month....complete with a GIVEAWAY -- YAY!!!!


Stay tuned, this party is just beginning!

January 1, 2012

A New Year of Change

Happy New Year!

Can't believe another year is gone. I've been musing about all that 2011 had to offer - the successes and failures, the good and bad - and I realized that though things may not have always been as I had wanted them to be, I was extremely blessed and for that I am grateful. So I bid farewell to another year, thankful for the lessons and I welcome a new year with an open heart and desire to make some changes.

One of those 'changes' will be happening right here at Little Blue's Room. Thanks to the help of my wonderful BFF's (Blog Frog Friends), I am on the search to find someone to help me makeover my blog. Next month I will be celebrating one year in the blogsphere (YAY!!) and I would like to have a blog that better reflects who I am but more importantly what I want my blog to be. Since this is my first blog (I say that like I plan to have more than one...LOL), I wasn't quite sure what I wanted - other than a place to showcase some of my crafts. Initially, the thought was that it would keep me "accountable" to the myriad of unfinished craft projects I had laying around -- no finished projects, no blog posts. Simple, right? Well, in my somewhat twisted mind I thought everything would be fine. I could continue to live life, create crafts and blog. Guess what? Reality slapped me in the back of the head all the while screaming "are you insane!" I soon realized that life wasn't going to stop for me as I juggled my family responsibilites, four jobs (yes, four - not a misprint), and tried to crank out a craft a week. I was feeling more than a little overwhelmed, disappointed and frustrated.


It became painfully clear that this journey I was on was going to need some tweaking. It was time for me to decide what kind of blog I wanted and what I needed to do to get it there. I found some inspiration on Pinterest (what a great site!) in the form of an eye catching photograph of a young boy. Clicking on the picture lead me to the blog of a woman named Elizabeth Halford, a very talented photographer. Her blog post Trashing My Best Work made me pause and think. Of course the post was about her profession as a photographer, but the lesson learned is what I could relate to. It's important to be true to ourselves both personally and professionally. This was just what I needed to hear and in a strange way just the motivation I needed to sit down and begin mapping out what I wanted and mustering up the determination to make it happen.

So I begin my New Year with a journey of change and I'm excited to see where it takes me. Thanks for following along and I hope you stick around - the best is yet to come.

December 4, 2011

Advent Calendar

Welcome December! This is my FAVORITE time of the year. I love everything about Christmas and now that I'm a mom I get to watch the little prince experience the wonders and joys of the holiday as well.

Part of the Christmas season for me is about tradition - decorating the Christmas tree, listening to Christmas music, dinner with my family - creating those memories that you take with you throughout your life.

The Advent calendar was not a part of my childhood Christmas tradition but I decided this would be a great way to reinforce the story of the birth of Christ in a way that was fun for my four year old. Of course I got the bright idea to create our own calendar instead of buying one. Why do I do this to myself? I don't know about you, but whenever I say "this will be easy" I have automatically set myself up for a much longer process than originally anticipated and this calendar was no exception...lol!

Using plain white posterboard, some Christmas fabric that I've had for a while, some thin ribbon and scrapbook paper I set to work on making a calendar that we can use for years to come.


The completed calendar

Each pocket has a card with a picture on it that corresponds to the story

I took a small Christmas photo album (10 pages) that I found in the dollar bin at Target last year and covered it in one of the remaining pieces of fabric; added the story to the pages and now we have a coordinating Christmas story book. Though you can't see it clearly here, the story is divided into 'days' to correspond to the numbered pockets.

A close-up of the pockets and the three different fabric designs used.

Even though this took longer than expected (we were three days behind), I'm happy that I now have something that I can use with my son for many more Christmases to come.

Off I go to work on a few other projects...let's hope that at least one or two more Christmas crafts will make its way into blog-world.


Join us at these linky parties:
Dixie n Dottie

November 17, 2011

Happy Thanksgiving!

I can't believe that I haven't posted in a month...time is moving way too fast and I'm having a hard time playing catch-up. I could go on and on (and on) about how I'm trying to balance my life and my blog but honestly that would be better suited for a therapy session (lol) so I'll just get down to it.

Let's talk Thanksgiving people!

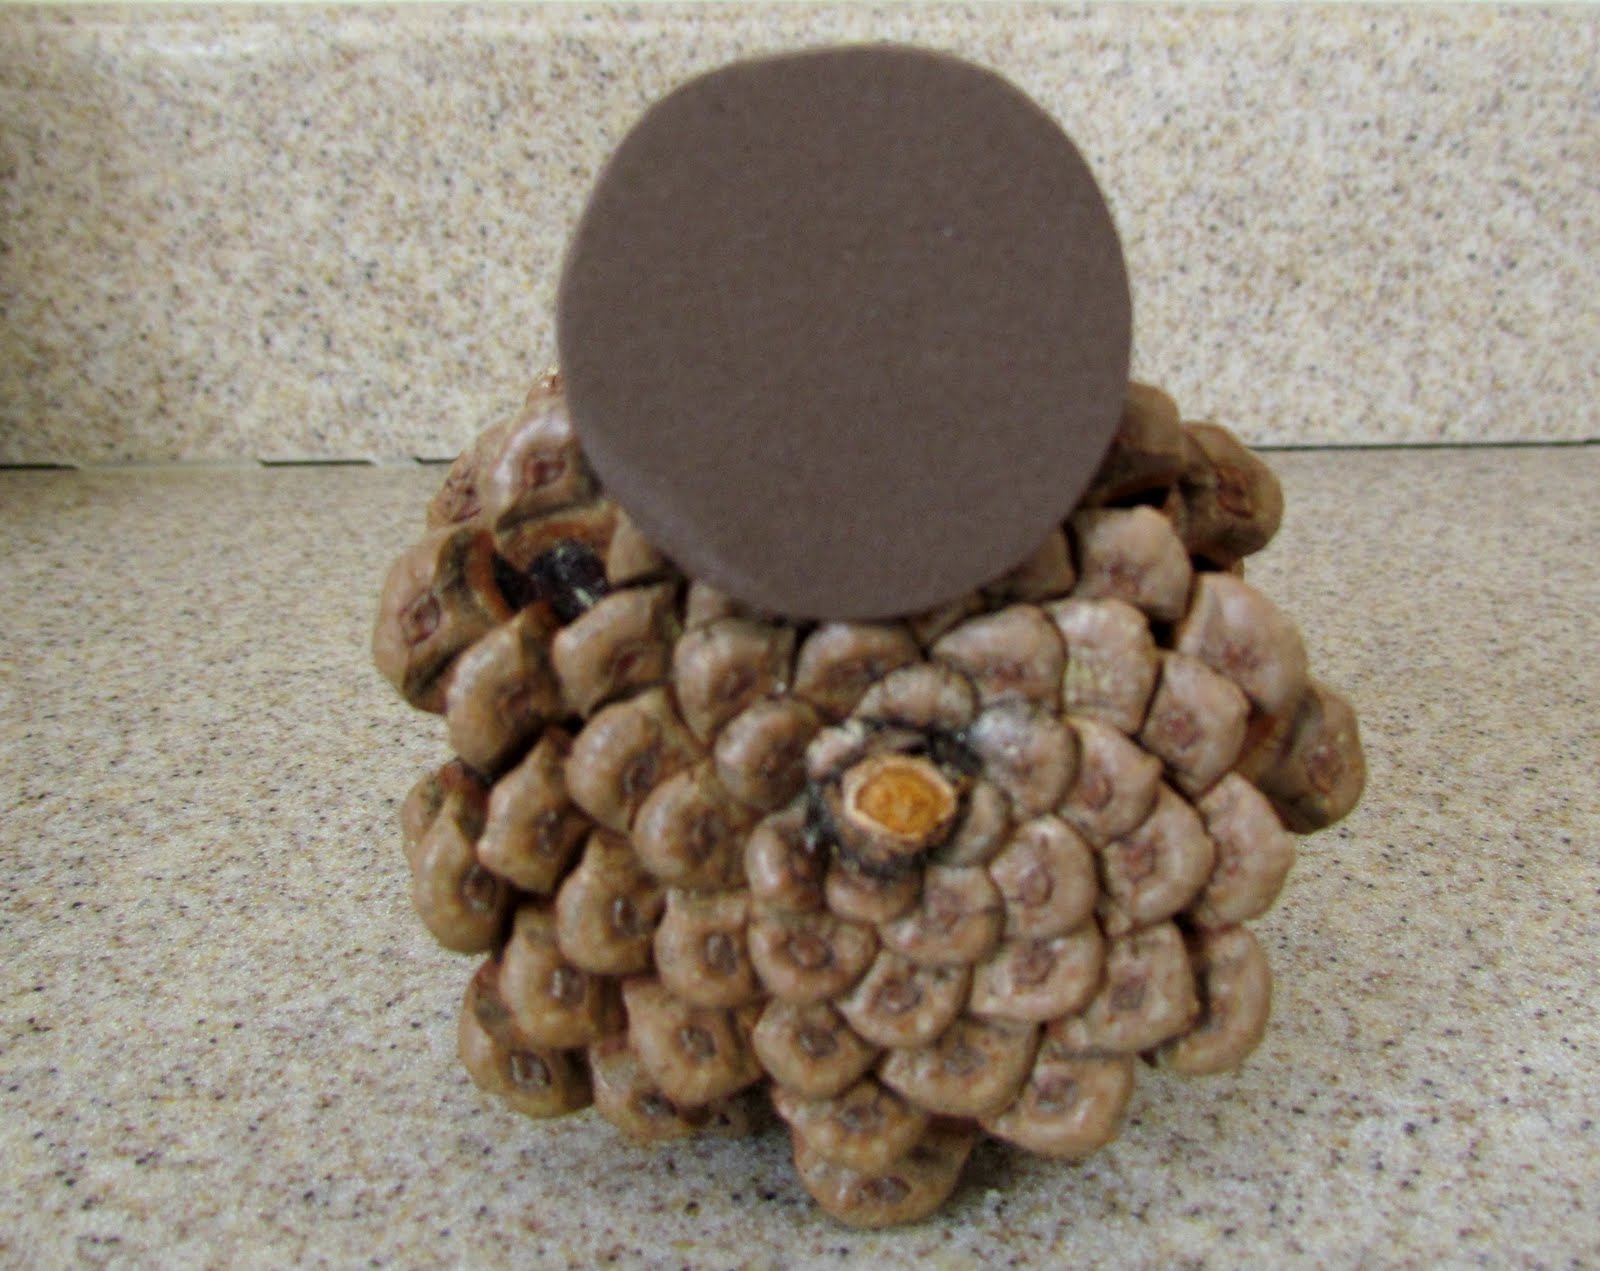
The sweet little babies that I have the pleasure of teaching three days a week are the inspiration for this craft. It started on a trip to the Dollar Tree where I found some great craft pinecones. Immediately I thought these could be transformed into little turkey's for my kids' class Thanksgiving feast.


They were meant to be mine - 9 pinecones and 9 little friends in the class

I've never made a pinecone turkey before but I figured it couldn't be that hard. I looked around my craft area for things I could use and was able to come up with a pack of foam sheets, some pipe cleaners and wiggly eyes.

While my son watched a couple shows of Thomas the Tank Engine, I cut out circles for the head, oval-ish shapes for the feathers, triangles for the nose and a candycane sort of shape for the gobbler.

Now it was time to put these together. I pulled out my trusty glue gun and began the assembly process which looked like this....

Attached the circle for the head

The beak

The globbler

The eyes

The foam feathers and pipecleaner feet - what a cutie he is, right!?!

Since these are going to decorate our table I wanted them to be a bit more fun than this. I've been learning to create my own toppers for parties and events and this is my first creation (I'm very proud of how well these turned out).

How cute are these! Not bad for a first try! (smile)

Put together and this is what I have...


Even though this is a poor photo (sorry) this is too cute, if I do say so myself!

The kids won't get the humor of the picture but their parents sure will and what a sweet keepsake for them to add to their own Thanksgiving table.

There are many things that I am thankful for and when my life feels like it's spiraling out of control I take a step back and remember that I'm blessed to be able to do what I love - even if that means doing so only once a month. Little Blue's Room would like to wish you and your family a wonderful and safe Thanksgiving. Be a blessing to someone this holiday season and remember....

Related Posts Plugin for WordPress, Blogger...