Showing posts with label scrapbook paper. Show all posts

November 21, 2013

Thanksgiving Cards

It's almost Thanksgiving!  Retail would have you believe that it's Christmas {don't even get me started on that!} but for me, I love Thanksgiving and everything that goes with remembering my blessings and being grateful for my life.

I have been super busy lately but I just couldn't let the holiday pass without crafting something so I spent my day off playing around with my Silhouette machine.  Since joining my online Silhouette group, I've learned SO much about my machine and what it can do.  I have a long list of crafts I'd like to try, but I decided I would start simple.  Cards


Where is that turkey?


Pumpkin Love


All about the pilgrims

These were fun to make and I look forward to getting them in the mail this weekend to friends.

Happy Thanksgiving from my family to yours!

{Note: Sorry about the poor photos -- I'm learning to use my camera so these pictures were me playing around with different settings.  Give me grace...I'm growing in my photography.  (smile) }


Where we like to party!


Visit thecsiproject.com

October 7, 2013

Happy Anniversary!

Hey everyone, I'm back!!!  It's been over a month since I last posted...did you guys miss me?  Well, I've certainly missed you!  A month away gave me time to just slow down a bit and take a few things off my plate for a while.  Now that I'm feeling more refreshed, I'm back and ready to jump right in.

Today's craft comes to you via an Evite I received from a mommy friend of mine.  Her parents just celebrated their 20th wedding anniversary.  The Evite wasn't to attend a party for them, as they would be out of the country on their anniversary, but to do something much more special for them.  The 'invitees' were asked to send them an anniversary card.  The plan was for them to return home and see all the wonderful anniversary wishes from their friends and family.  They are blessed with amazing children who thought up this wonderful idea and it gave me such 'warm and fuzzies' that I couldn't wait to send my card.

Of course the crafter in me would not allow me to go and buy a card from the store.  For this special occasion I needed to make something just as special.  Here is what I created.

Happy Anniversary Richard and Libby!  Here's wishing you 20 more glorious years together!


The front


The inside

*** 10-08-13 EDIT ***

What a wonderful surprise for Libby and Richard.  Read on to see what they had to say about this heartfelt anniversary surprise party!

Dear Friends and Family,

Thank you all for your greetings and good wishes in celebration of our 20th wedding anniversary. 

When we returned from our trip  we had an “official” US Postal Service tub of mail waiting. Bills and catalogues, right?  We had no idea what was going on when found greeting card after greeting card as well as emails and phone messages all from very special friends and family!  

You would have enjoyed watching a couple of jet-lagged confused travelers trying to understand why and how. One of our neighbors had to explain that it was an Surprise Anniversary Card Party.

Thanks to our adult children for their creativity and effort in putting this together.

With love,
Richard & Libby

They were even kind enough to include a picture.  I'm so happy that they were surprised and that their "party" was such a huge success!

Side note {well because I just have too!}: It's too bad the post office couldn't keep from destroying the key -- next time I'll be sure to put "fragile" on the envelope.  Lesson learned.  


June 24, 2013

A Little Note Holder

I have recently been working on making my crafting area the space that I really want {promise to show pics as soon as it's done}.  I began about a month ago organizing the mounds and mounds of craft supplies that I have.  After finding myself in a pile of ribbon, scrapbook paper, rolls of vinyl and about a million other things, I found two little wood plaques that forgot I purchased or even what I purchased them for...lol.

Deciding what to do with them was pretty easy.  I looked around at the supplies I had and quickly picked out some scrapbook paper, spray paint and headed straight to my Silhouette machine.

Look at the fab little note holders I whipped up!


Now, back to craft space renovation.  Stay tuned and in the meantime....

June 14, 2013

Before Meets After -- Linen Closet Organization

Do you find that you have several unfinished projects going on around your house?  I've had a "to do" list running in my head for several months now, always with the promise that I will take care of it...soon.  Now that school is out, "soon" as arrived and it's high time I get these items checked off.

My linen closet has been begging for my attention for at least a year {probably longer, but who's counting}.  It's such a small space so it only needed a little organizational TLC.

I went shopping for baskets in Hobby Lobby.  I found several that I loved but wasn't crazy about the prices.  I knew that I only needed three, preferably three different sizes - something like this.

Natural Rush Basket set with liners {picture from Hobby Lobby}


With a $54 price tag {or larger},  I needed to start thinking of other options.  Back to my favorite store to shop for bargains -- The Goodwill!  It took me several weeks to find what I was looking for but I got lucky and found these great containers.


Containers made of wood

They are heavy and very sturdy containers and I was over the moon when I saw them just sitting on a
table.  Seriously, I almost ran over a little old man trying to get to them before someone else did {hey, bargains bring out the worst in a person...lol}.  The best part of this find was the price.  All three together only cost me $11.  Major score!


Though I loved the containers themselves I wasn't so in love with the color, so time to get that small flaw taken care of.  I grabbed my sand paper and tack cloth and got right to work.


Sanding time

They only needed a little sanding work to get them ready for painting.  Then outside I went to get them spray painted.  I used Valspar spray paint and I'm in love with the coverage and finish of this brand.


Sanded and ready for painting


Great coverage -- only required one coat


The finished product - beautiful!

To finish them off, I used my Silhouette machine, scrapbook paper and some great chalkboard vinyl from Pick Your Plum to create the labels for each container


Labels on each container

Here is where my Before Meets After:


It feels great to have one thing crossed off my mental to do list.  I'll be working hard over the next few weeks to get several more checked off too!  What are some of your 'to do' list items and how do you plan to tackle them?


February 23, 2013

What I Love About You....

Valentine's Day, like many other holidays, have become so commercial.  We shuffle around for days before {sometimes even the day of} trying to pull off the best gift to show our "love" for that someone special.  Well this year I decided not to fall prey to the hype.  I decided that this year my two leading men would receive a gift that really came from my heart...and my hands.

On one of my many trips to Michaels, I found this little chipboard booklet.  I liked it right away but wasn't quite sure what I would use it for at first.  When I was considering what I wanted to do for the little prince, I decided to make him a special little book telling him the things we love the most about him.

Chipboard booklet

Checking my stash of scrapbook paper, I found some that I purchased last year - these were going to be perfect.  I took one of the chipboard pages and traced the shape on each piece for easy cut out.

Red and white stripes - traced the shape

Red and white polka dots - shape cut out

I got right down to working on the pages.  Since this was going to be for my little man I wanted coordinating colors that would be more masculine, so I opted for some black textured paper and a smooth aqua paper as well.  I don't know about you but inspiration can hit me at anytime, so the idea to have a picture of each of us moving in for a kiss with him came to me while at work...haha!

A little lovin' for mommy

A little lovin' for daddy

Our sweet boy is a great reader so we wanted to add simple sentences that he could read showing him just how much he means to us and why.


Time to put the front cover together.  Using red paper with the word "love" in black on it, I cut out the words 'Happy Valentine's Day!' using my Silhouette.  I liked the paper because I thought it wasn't too girly, but I was slightly disappointed with it on the cover because you can no longer see that detail.  Oh well, that'll be a learning lesson for the next one...haha!  The heart and key are from Martha Stewart's line and I bought them on clearance at Michaels last year.


And here are the pages all put together.  Did you notice that the ring holding the book together is a different color?  Somehow I lost the one that came with it and luckily I had some here that I bought for school.  I hope at some point it will show up and I can replace this one...so not feeling that purple with his book {giggle}.


Now that man #2 was done, time to work on man #1.  I found a bottle at the Dollar Tree that was filled with flowers and a note - a message in a bottle.  I loved this idea but sorry Dollar Tree, that note and those flower petals were going to have to hit the road.  My sweetie deserved something sweet, so I chose to fill them with conversation hearts for a different take -- 'Messages in a Bottle'.  I stopped by our local cupcakery and picked up a chocolate cupcake for him too...yum!


And a little extra added touch....

'I Love Valentines' barcode

I hope you were able to find a way to show your lovies how special they are too!


December 17, 2012

Christmas Treat Tree {gift for his teachers}

My son has two awesome Kindergarten teachers.  So for Christmas we wanted to show them how much we appreciate all of their hard work with something homemade.  I looked around my craft room to see what I had to work with and I remembered that I had these great paper mache bags/boxes that I bought on clearance in Hobby Lobby after Christmas last year.


Now, what to do with them...hmmm.  Since these are going to be Christmas gifts, what says Christmas better than 'Santa'?  An idea has been born {haha}, so off to Michaels for some scrapbook paper to cover these in.


I didn't want the traditional fire engine red, so I opted for a deeper red with a shiny black and silver accent.  At this point my creative juices began to flow and I decide that I would like to turn this into a 'treat tree'.  Another trip to Michaels for styrofoam trees (my stash was depleted on the 12 Days of Christmas tree here) and some hunter green spray paint.


Sorry, but I don't have pics of the process for the Santa box.  Most of this was done late at night and finding sufficient light in this house for photos is next to impossible...LOL.  The steps I took to cover the boxes are these: (1) I took the handles off, (2) I measured each side of the box and cut the red paper down to size, (3) using Aleene's tacky glue I glued the cut pieces of red paper to each side including the bottom, (4) I added very thin black ribbon around the top and seams of the box, (5) I cut the black paper in two inch strips and glued them around the box in four separate pieces {two long/two short}, (6) I then cut the silver paper in a 3 inch x 3.5 inch square and cut out a square in the middle, (7) I cut a small strip to make the prong and glued it to the silver square, (8) I added a little bling with the crystal jewels on the belt {even Santa likes a little sparkle, don't ya think?}, (9) using a long craft stick I inserted it into the bottom of the tree, and (10) I glued the stick tree into another piece of styrofoam inside the box, filled the box with red and green tissue paper.

Here it is almost finished.


Now for the treats!  After checking Pinterest, I found an easier version of a cake pop -- an Oreo pop found {here} from the Camp Clem blog.  I bought double stuff Oreos, a box of candy canes, vanilla candy melts and wooden skewers (these have a sharp edge and work better than lollipop sticks since they needed to be stuck in the styrofoam tree) and with the help of the little prince we got to work.


I melted, dipped, dunked and refrigerated the Oreo pops and after they chilled a bit was able to bag them. Now here is where a brilliant idea was great in theory but poorly executed.  I didn't think about how heavy these Oreo pops would be so the plan was to have ten of these around the cone in three layers.  I learned very quickly that I didn't factor in the weight and after five of them they almost toppled over...YIKES!  Removing some and choosing to just put them in the middle to evenly distribute the weight, this is what I ended with.


This is definitely not how I envisioned this project to end up...not even close, but when have any of my projects turned out exactly like I envisioned them -- hahaha!

The good side of this was that his teachers really like it and were thankful for our generosity.  One of them even said she would try the Oreo pops with her two year old daughter.  Now to me, that's a success!

From my family to yours, we wish you a Merry Christmas!


Where we are partying!


April 6, 2012

A Gift Box

It's time to clean up my craft area. I don't know about others, but my craft space is bursting at the seams with 'stuff'. I've recently made the promise to myself that I will try to limit my purchases and start using that rather hefty mound of craft supplies that is threatening to take over and perhaps swallow me whole {giggle}.

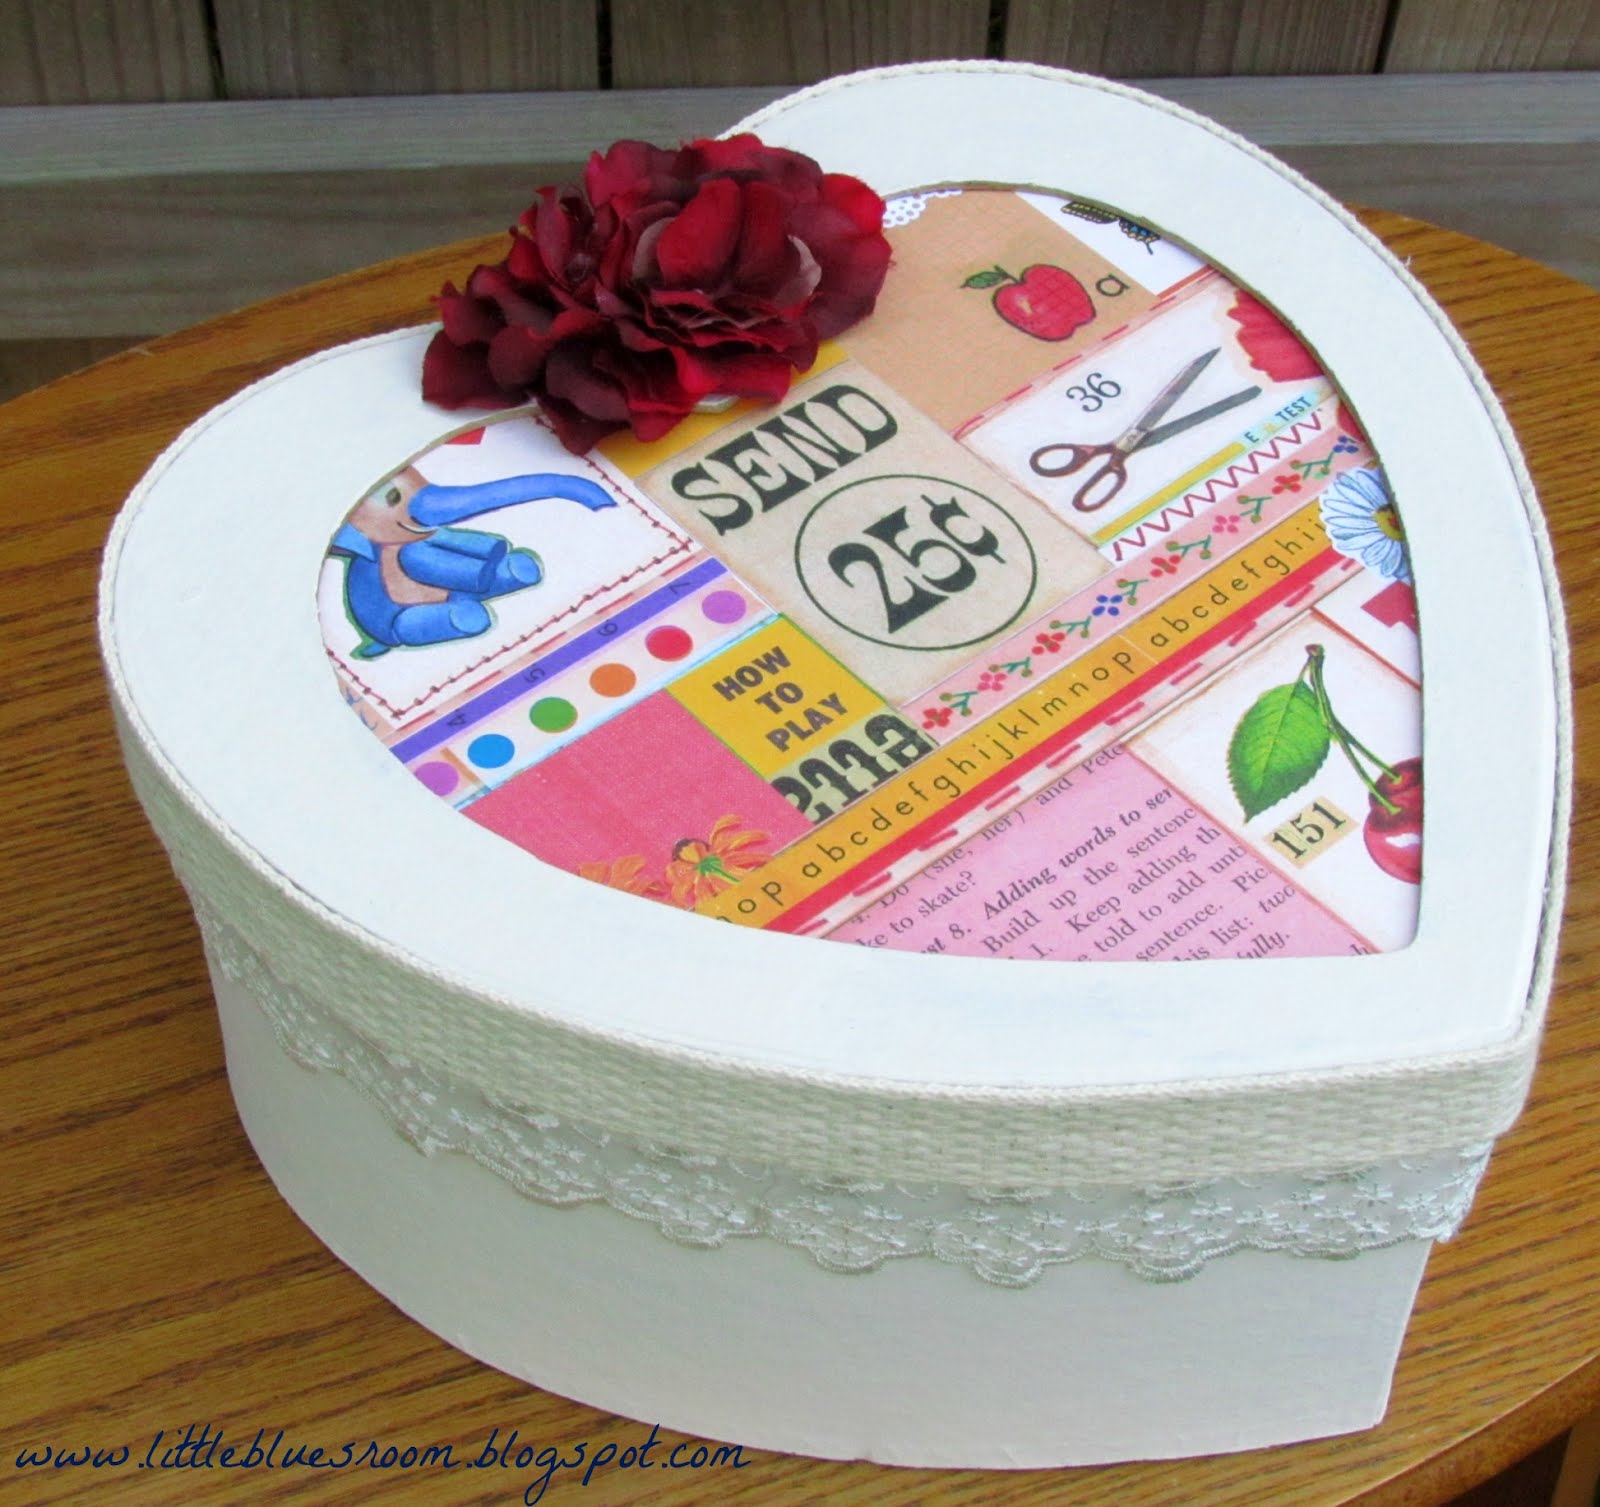
A while ago my sister gave me this great heart shape cardboard box. I completely forgot about it until the other day when I was cleaning my bedroom and found it stashed under my bed. So using some acrylic paint, scrapbook paper, flowers, lace and trim, this is what I came up with.


Perhaps this will make a wonderful end of the year teacher's gift box....just perhaps.

Related Posts Plugin for WordPress, Blogger...