
I purchased these great wood blocks from Pick Your Plum. As it is with many of the deals I get from PYP, I wasn't sure what I was going to do with them -- that is until now.
 Beautiful wood block set
Since this project is for the laundry room, I'm using colors that are in the cushion we have on the top of the shoe container. If you remember, I didn't like the size of the cushion and was thinking I would return it and purchase something different. Well, that never happened and then I just got used to it so it stayed {does that ever happen to you?} I decided on the colors red and yellow since I wanted colors that pop. So I grabbed my cans of spray paint and went to work.


I picked a series of pictures I took of my son in the backyard to use for this. After some playing around with my printer, I was able to resize the photos and print them all on one sheet of 8 1/2 x 11 matte photo paper {this was such a huge deal for me...much like a kid learning to ride a bike -- it really is the small things in life that make me happy. Hahaha}

 I decided to paint the edges of each of the smaller wood pieces in white so there would be some contrast to the red and yellow colors
After using mod podge to glue/seal the pictures and wood glue to adhere the smaller pieces to the base, I was ready to add the last little details. I found these great monogram/alphabet knobs on sale at Michaels for just $0.67 each and thought they would add a little character to the block as well as pull in the detail from the cushion. Adding hardware to the back for hanging purposes and using a trick on how to successfully hang pictures that I found on Pinterest, the photo block was ready to be added to the wall in the laundry room.
 Hardware added
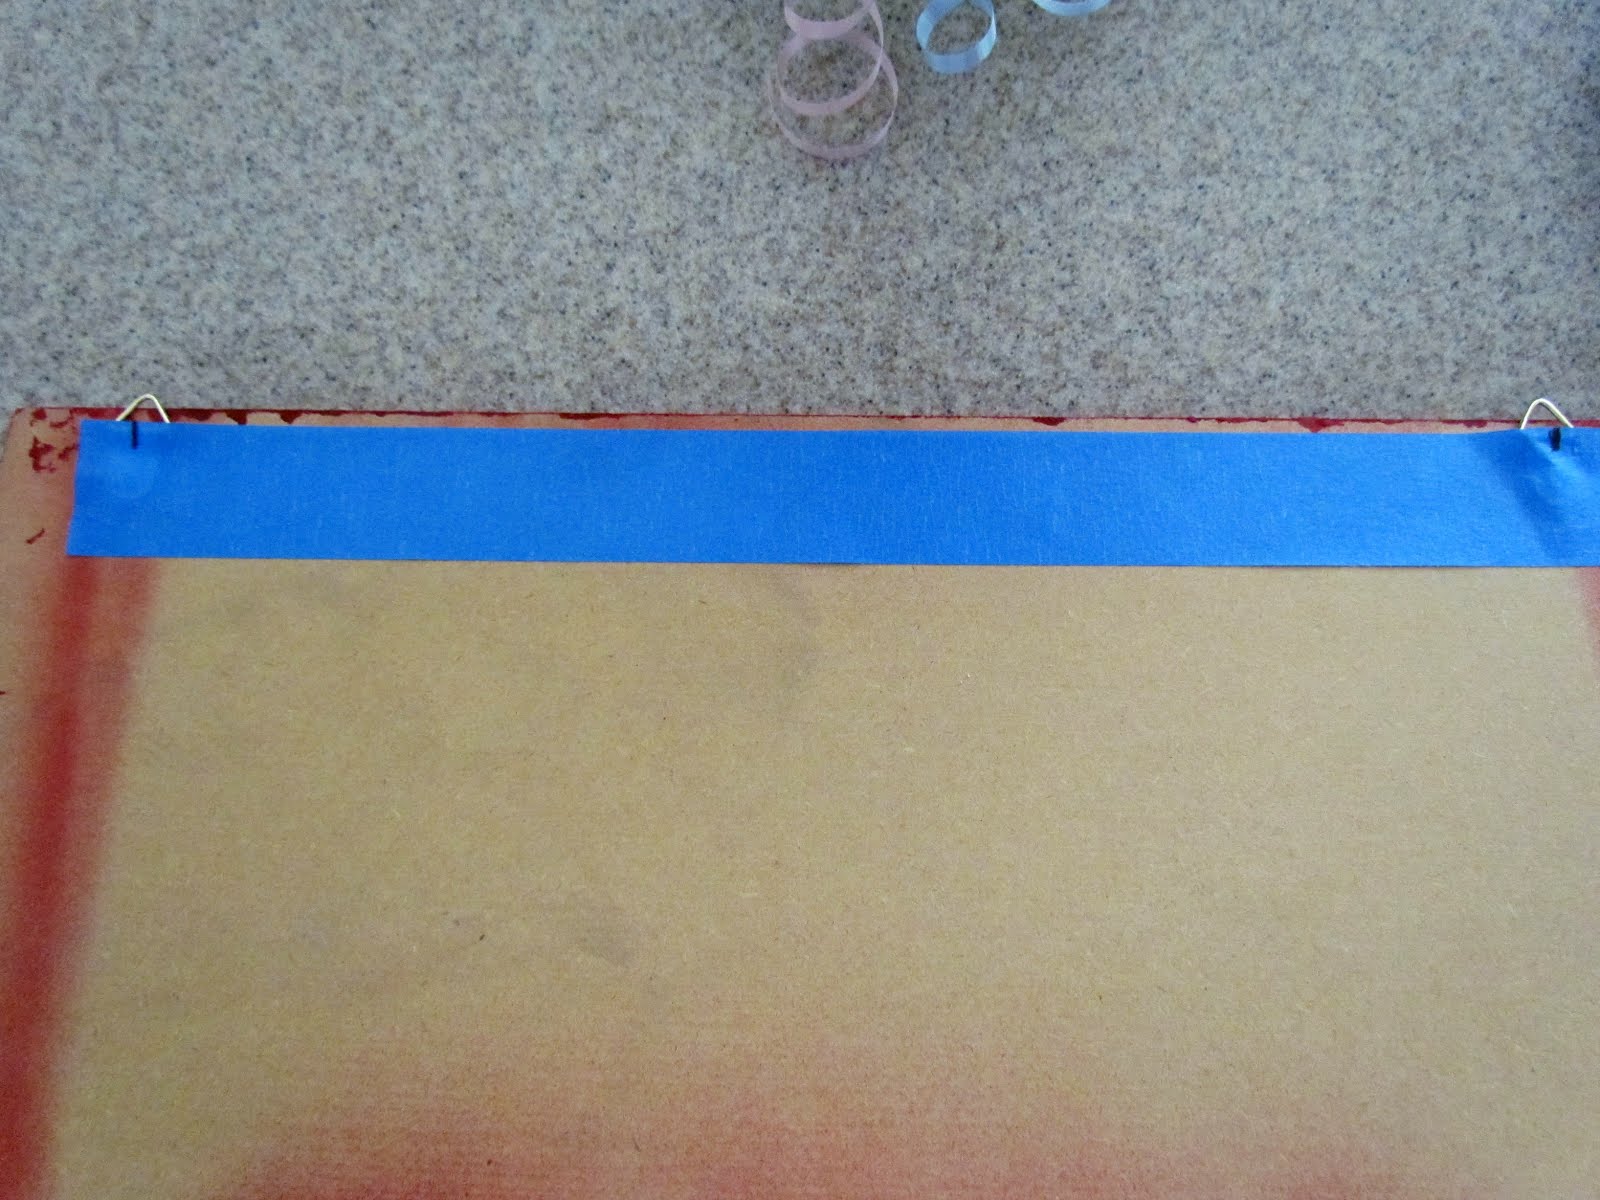 Using painters tape, I measured the distance between the two hardware hangers
 Placing the same tape on the wall to know where to put the nails
 Photo block on the wall
There is still more that I'd like to do to that space {still a lot of white wall to cover} but every step is one step closer to a finished project. I'm a happy crafter!

Where we party!


No comments:
Post a Comment