Showing posts with label Wood. Show all posts

July 12, 2013

Chic Drink Stand

As we prepare to do some renovations on our backyard, I've been thinking about colors and how to decorate our new patio space.  The truth is, I wish that we had the budget to buy all new furniture and accents but I know that's not possible.  Time to think of ways to make a chic, beautiful and relaxing space on a budget.

While we wait for the rain to stop {Is there a monsoon season in the south?} so our concrete contractor can get here to lay the slab for the backyard patio, I've decided to begin our design with some simple accents.  This one has been on my radar for almost a year and I finally got around to getting it done -- my chic drink stand.


I began this project with a trip to Lowes.  I found a 6 x 24 board used for playground equipment - perfect size for what I needed.  From there I headed over to find the tiles that would fit on top.  The tiles are basic kitchen/bathroom tiles {sorry, forgot to take a pic of them}.  The wooden balls I purchased at Hobby Lobby knowing they would make great legs.


I spray painted each piece in a flat black paint.  I love how you can still see the grain of the wood.


At this point, I needed to enlist the help of my knight and shining armor to attach the handles.  He is much better with power tools than I am and his attention to detail would ensure that the handles would be put on properly, something I was a little worried about if left to do this part on my own.


Measuring to make it even and to make the holes line up for drilling

Oh how I love a man with power tools!


Using my Silhouette machine, I found two great flourish designs that I loved.  One of them I also used on the Doll Club Cards.  I cut two of each design using vinyl and placed them on each of the tiles.
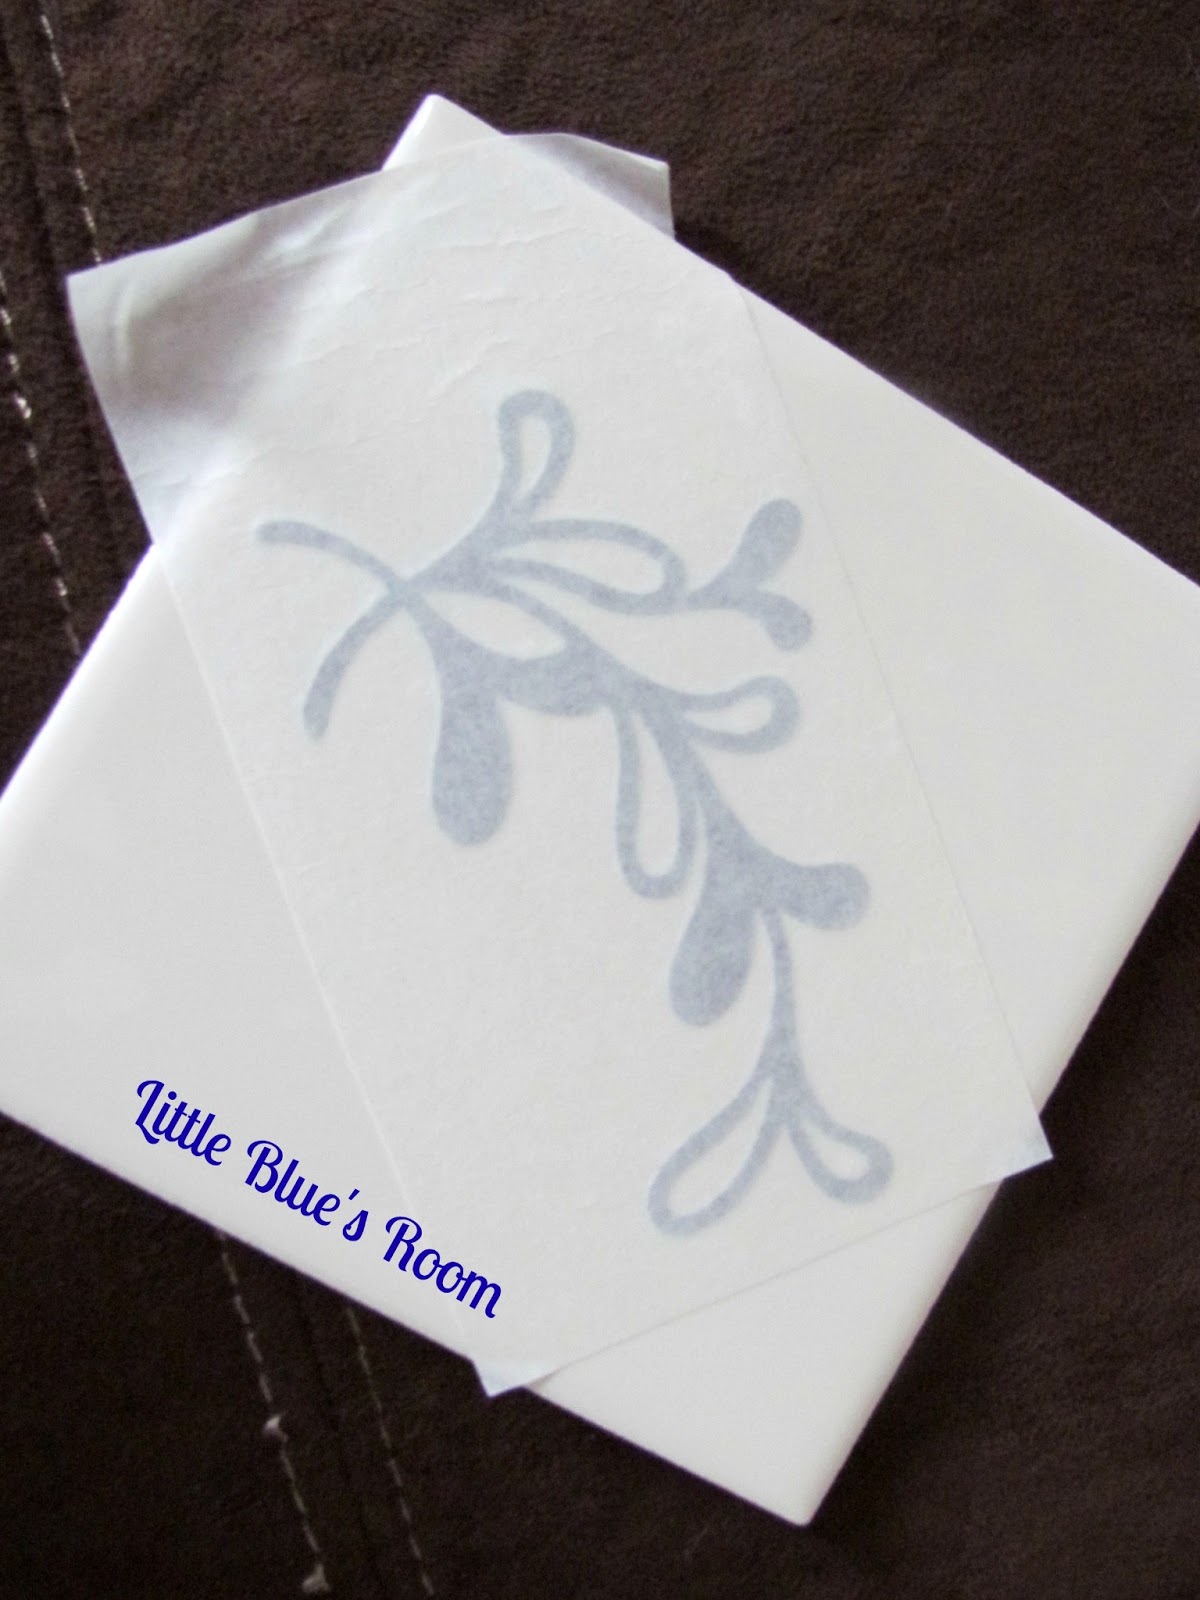

Vinyl transfer on each tile

The colors I want for our outdoor space are turquoise, coral and pale yellow.  We tend to shy away from color -- a habit I'm trying to break.  I chose a great turquoise acrylic paint and used a foam stamping brush to "stamp" the paint on each tile.  I wanted the texture and the more 'uneven' look of the paint on each one.

Stamping over the tile and vinyl

Completely covered 
TIP: Remove the vinyl while the paint is still wet to keep it from messing up the design.

Removing the vinyl carefully

I measured {you can see a faint pencil line} to make sure that I put the 'legs' in the right place and attached each one using Gorilla glue.


Remember that tip I just gave?  Well, let me show you what happens if you don't get all of the vinyl off when the paint is still wet...ugh!  I considered redoing the tile but decided against it.  I think it gives it character, so it stays {truth: I was too lazy to do it again...LOL!}.  I attached each tile using Gorilla glue as well.  I didn't measure the space for the tiles, just gave it a good eyeballing {Is that a real word? Guess it is now...lol} to make them even on the board and let them sit for half a day to set before moving the stand.

Dried paint is NOT your friend!

I'm so proud of the way this turned out.  An accent that will not only be cute but functional and of course we all know how important cute is!


Where we like to party!


June 29, 2012

Photo Block

Pictures, pictures, everywhere! After finishing the collage art frame (here), it was time to work on another photo project. This time I'm adding to the laundry room, a project (here) that is proving to take as long as the bedroom {slow and steady Angela....slow and steady - lol!}.

I purchased these great wood blocks from Pick Your Plum. As it is with many of the deals I get from PYP, I wasn't sure what I was going to do with them -- that is until now.


Beautiful wood block set

Since this project is for the laundry room, I'm using colors that are in the cushion we have on the top of the shoe container. If you remember, I didn't like the size of the cushion and was thinking I would return it and purchase something different. Well, that never happened and then I just got used to it so it stayed {does that ever happen to you?} I decided on the colors red and yellow since I wanted colors that pop. So I grabbed my cans of spray paint and went to work.


I picked a series of pictures I took of my son in the backyard to use for this. After some playing around with my printer, I was able to resize the photos and print them all on one sheet of 8 1/2 x 11 matte photo paper {this was such a huge deal for me...much like a kid learning to ride a bike -- it really is the small things in life that make me happy. Hahaha}

I decided to paint the edges of each of the smaller wood pieces in white so there would be some contrast to the red and yellow colors

After using mod podge to glue/seal the pictures and wood glue to adhere the smaller pieces to the base, I was ready to add the last little details. I found these great monogram/alphabet knobs on sale at Michaels for just $0.67 each and thought they would add a little character to the block as well as pull in the detail from the cushion. Adding hardware to the back for hanging purposes and using a trick on how to successfully hang pictures that I found on Pinterest, the photo block was ready to be added to the wall in the laundry room.

Hardware added

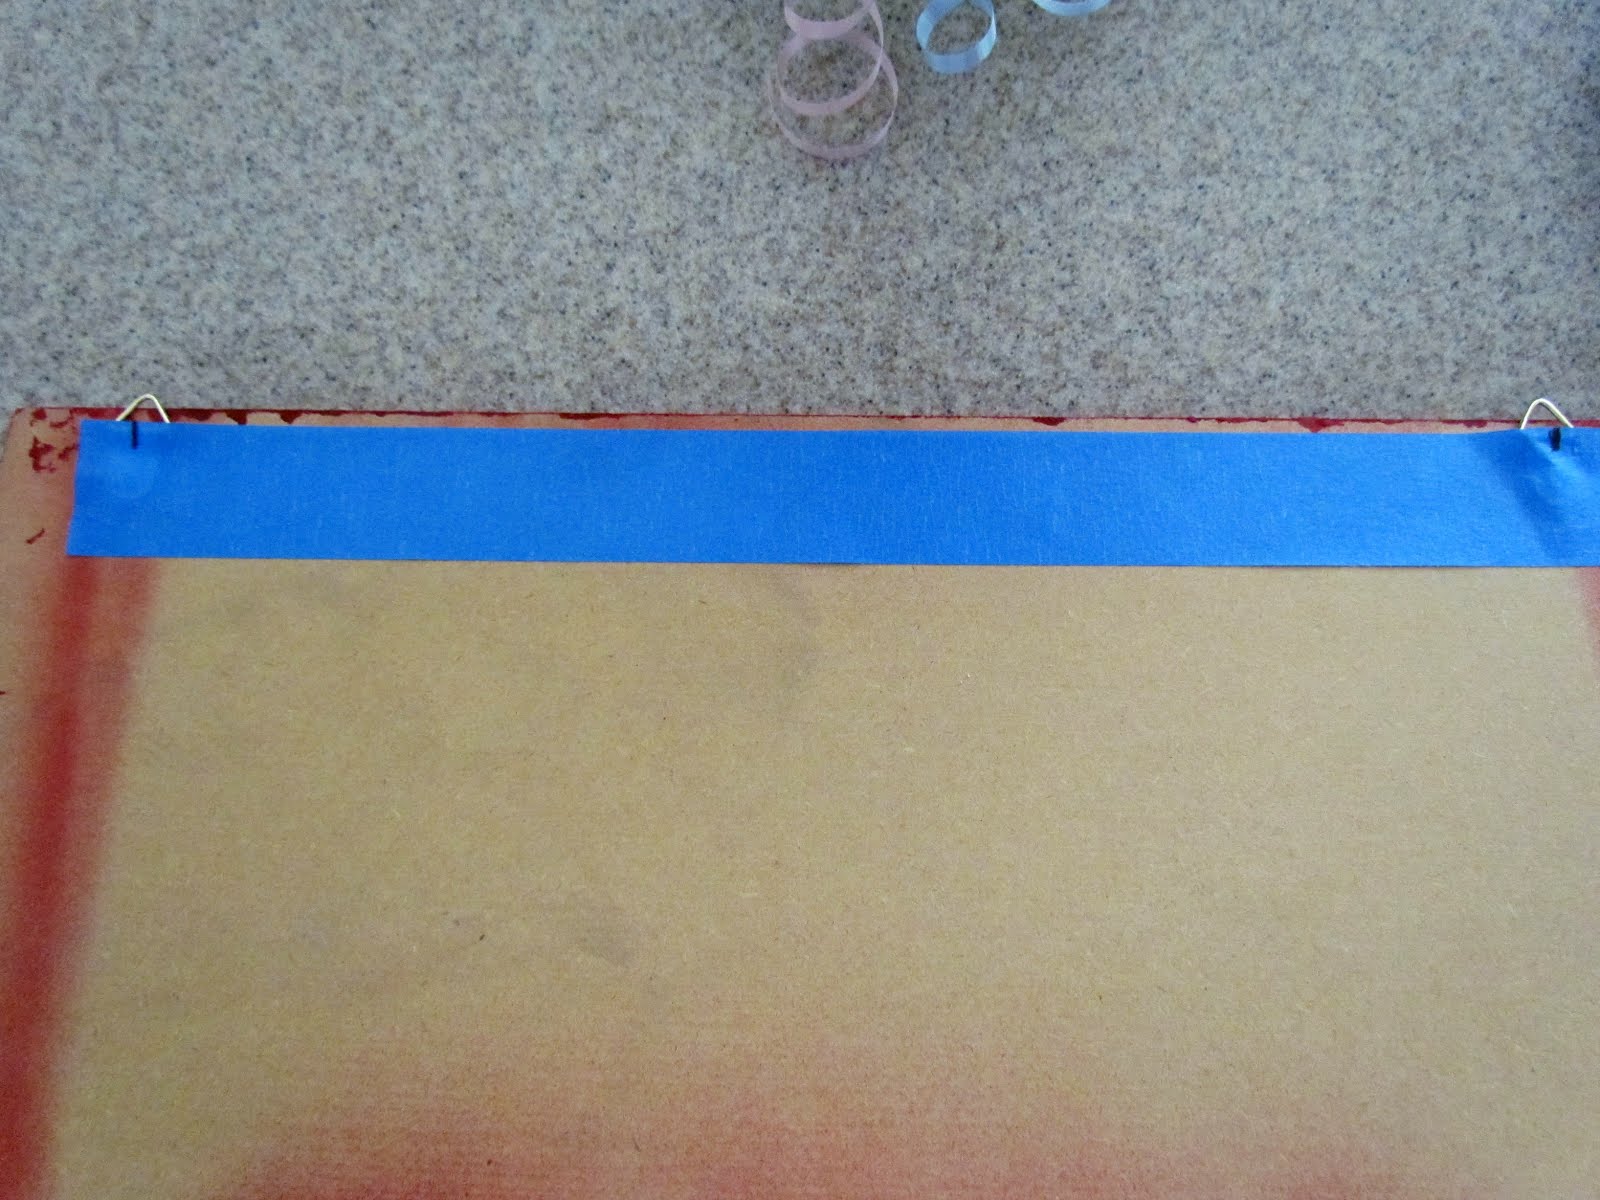
Using painters tape, I measured the distance between the two hardware hangers

Placing the same tape on the wall to know where to put the nails

Photo block on the wall

There is still more that I'd like to do to that space {still a lot of white wall to cover} but every step is one step closer to a finished project. I'm a happy crafter!


Where we party!

Visit thecsiproject.com

August 12, 2011

Message Board

I've said this before, but I love all things crafty. I find so many things on the web that spark interest or become inspiration for me. What I'm discovering about myself is that I like working with wood. I've also discovered that I'm intrigued with Mod Podge and all that it can do. After spending some time perusing my new favorite blog Mod Podge Rocks , I decided I would try my hand at putting these two together ~ enter my 'Message Board'.

I've often read on other blogs about crafting bloopers or misadventures. Well, I classify this one as a crafting "fail" (one of many...lol). Though the final product isn't what I'd hoped for, I feel I've learned from my mistakes and will have better luck on my next one (a gift for my sister's birthday), at least that's my prayer.


The unfinshed wood plaque. I've taped off the section intended for the vinyl chalkboard
The fun scrapbook paper from Hobby Lobby and the great vinyl chalkboard purchased from Pick Your Plum (love their stuff!)
I cut the scrapbook paper to fit the board then measured and cut the square out of the middle
I painted the edge of the board; making sure to paint a small edging around the top of the board as well
Here is where I "failed" - my Mod Podging needs some work. Though you can't see it in this picture, I have bubbles and wrinkles in the paper as well as an unsmooth finish from the Mod Podge I put on the top as a sealer (should have watched the tutorial before I began). After the paper dried, I used painters tape to cover the chalkboard portion and sprayed it with clear acrylic
Adding some hardware, galvanized wire and pearls for decoration and we have a handle for hanging
The finished product

Now that I know where I've made the mistakes, I'm headed back to complete the one I want to give my sister for her birthday. Let's just hope I've learned enough to make this one perfect - or as close to perfect as I can get (smile).

Related Posts Plugin for WordPress, Blogger...