
While we wait for the rain to stop {Is there a monsoon season in the south?} so our concrete contractor can get here to lay the slab for the backyard patio, I've decided to begin our design with some simple accents. This one has been on my radar for almost a year and I finally got around to getting it done -- my chic drink stand.

I began this project with a trip to Lowes. I found a 6 x 24 board used for playground equipment - perfect size for what I needed. From there I headed over to find the tiles that would fit on top. The tiles are basic kitchen/bathroom tiles {sorry, forgot to take a pic of them}. The wooden balls I purchased at Hobby Lobby knowing they would make great legs.

I spray painted each piece in a flat black paint. I love how you can still see the grain of the wood.

At this point, I needed to enlist the help of my knight and shining armor to attach the handles. He is much better with power tools than I am and his attention to detail would ensure that the handles would be put on properly, something I was a little worried about if left to do this part on my own.

 |
| Measuring to make it even and to make the holes line up for drilling |
Oh how I love a man with power tools!

Using my Silhouette machine, I found two great flourish designs that I loved. One of them I also used on the Doll Club Cards. I cut two of each design using vinyl and placed them on each of the tiles.
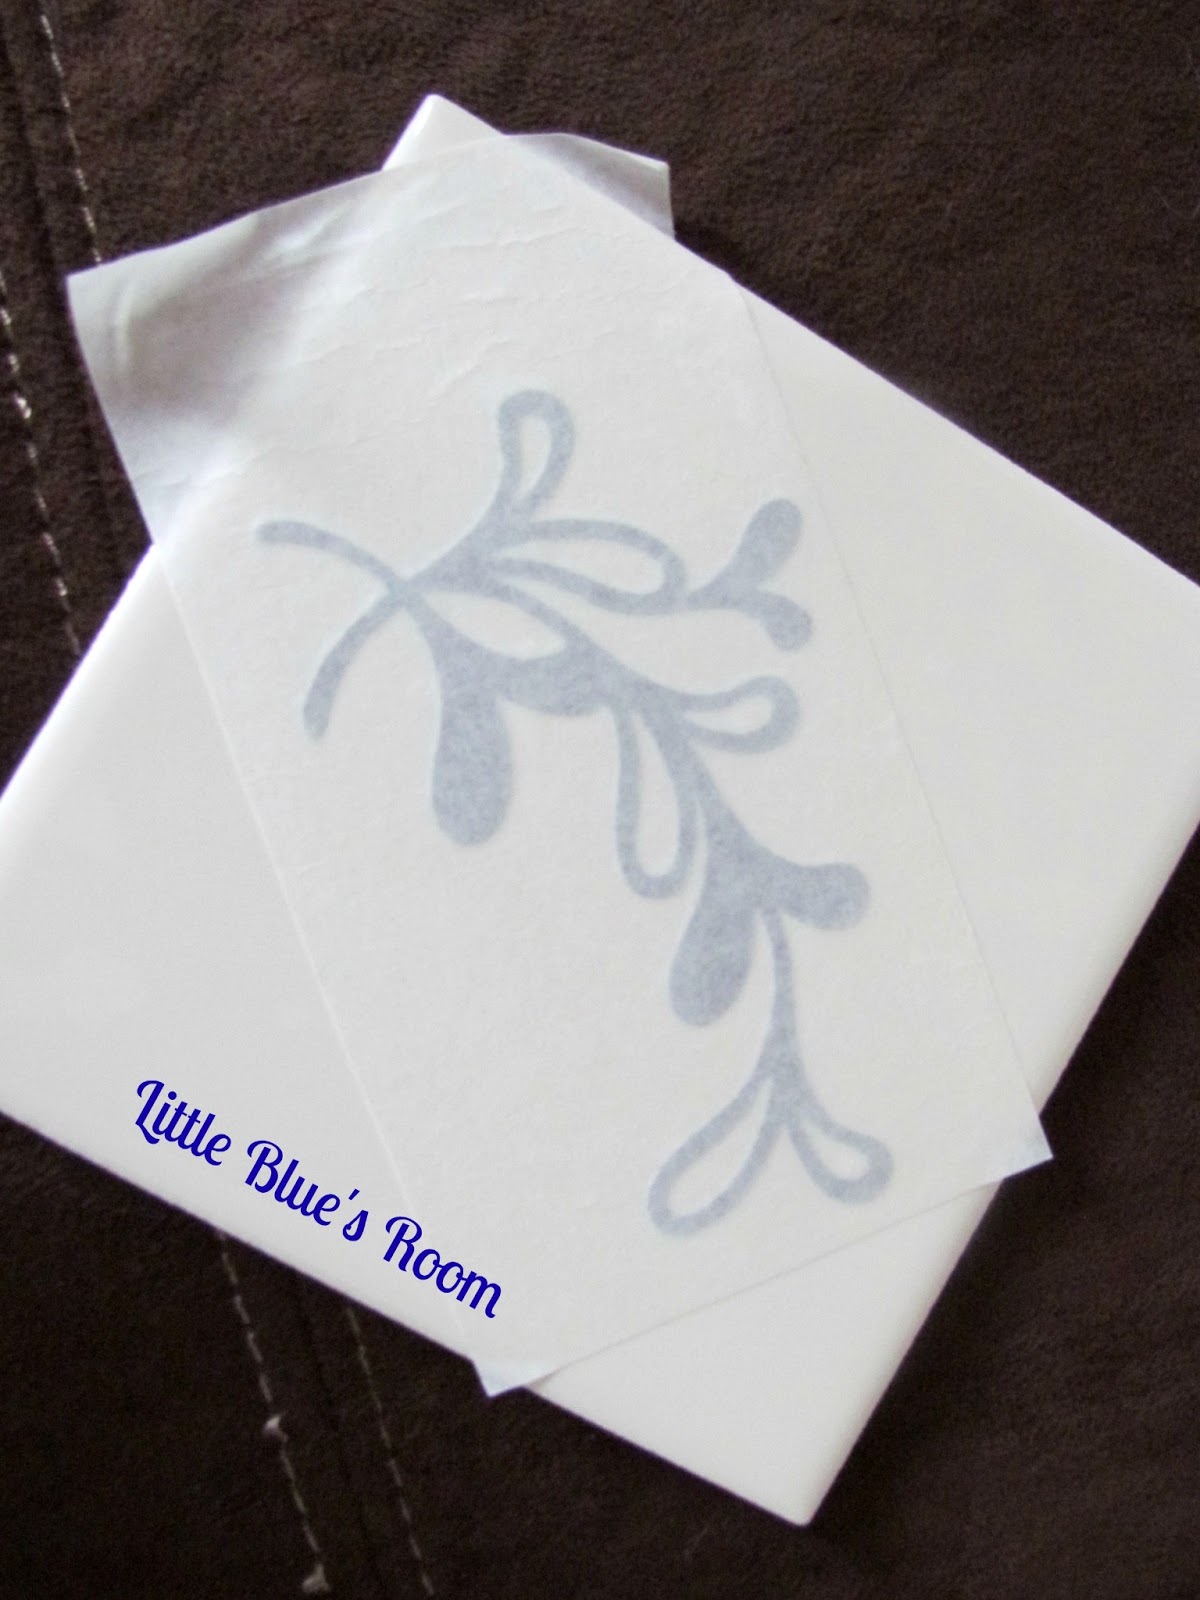 |
| Vinyl transfer on each tile |
The colors I want for our outdoor space are turquoise, coral and pale yellow. We tend to shy away from color -- a habit I'm trying to break. I chose a great turquoise acrylic paint and used a foam stamping brush to "stamp" the paint on each tile. I wanted the texture and the more 'uneven' look of the paint on each one.
 |
| Stamping over the tile and vinyl |
 |
| Completely covered |
TIP: Remove the vinyl while the paint is still wet to keep it from messing up the design.
 |
| Removing the vinyl carefully |
I measured {you can see a faint pencil line} to make sure that I put the 'legs' in the right place and attached each one using Gorilla glue.

Remember that tip I just gave? Well, let me show you what happens if you don't get all of the vinyl off when the paint is still wet...ugh! I considered redoing the tile but decided against it. I think it gives it character, so it stays {truth: I was too lazy to do it again...LOL!}. I attached each tile using Gorilla glue as well. I didn't measure the space for the tiles, just gave it a good eyeballing {Is that a real word? Guess it is now...lol} to make them even on the board and let them sit for half a day to set before moving the stand.
 |
| Dried paint is NOT your friend! |
I'm so proud of the way this turned out. An accent that will not only be cute but functional and of course we all know how important cute is!

Where we like to party!


15 comments:
So cute. What a great idea and I love the colors.
Thanks Jessica! I can't wait to put the patio together and show off the pics. :-)
I friggin love this!! Not to mention a man with a drill and measuring skills. If you lived next door to me... I would peek over your fence all the time!!
Thanks Lori! I'm really excited about the possibilities in our backyard, just need to find time to get all my projects completed. And if we lived next door to one another, you wouldn't have to peek -- you'd have an open invitation to come over and share my space anytime you'd like!
They turned out great! An a little mistake let's people know that they are handmade! :)
~Emily
A Tossed Salad Life
Thanks Emily! I'm really happy with it...little mistake and all. :-)
That is beautiful!
What a great idea!! And, so pretty!!! Personally I love the little "mistake" that's what makes things special!!
Thanks so much! It was so nice to bring this idea to reality...especially because I came up with it over a year ago but hadn't gotten around to making it - LOL. Thanks for stopping by!
So cute-and love the colors!
This is so cute! I can barely see where the "oops" part was. My husband always tells me not to point it out because no one will know unless you tell them! LOL Great job!
Hi Amy! Thanks so much! We aren't much into color - very neutral throughout our house so I was excited to experiment with color for our outdoor space. Thanks for stopping by!
This is super cute! stopping by from the less laundry, more linking linkup.
Sooo cute!! I love it! I will add this to my to-do list. Although I might need some help :) Thanks for linking up to that Less Laundry, More Linking party. Can't wait to see what you link up next week ;)
Seriously fantastic project! You are very creative. Looking forward to more.
Post a Comment