Showing posts with label Paint. Show all posts

November 26, 2012

Christmas Countdown

Christmas truly is the most wonderful time of the year!  I love everything about the holiday - the cooler weather, the decorating, the time with family and friends - simply everything about Christmas makes me happy.  Now that I'm a mom, I love experiencing the holiday through the eyes of my son -- his excitement is contagious!

Anyone who knows my son knows that he has a love for numbers {I see a math whiz in the future}.  Now that he's older and in "big school" I thought a great way to gear up for Santa's arrival would be with a countdown calendar.  There is nothing like the nearly unbearable anticipation as you wait for the big day {and hopefully big presents} counting down to the magical moment when Santa visits.  Here is our countdown to Christmas....

I began this project by using a wood tile board that I bought from Walmart a while back.  I thought these would make great craft projects for the future so I bought three of them, one I used on my It's Fall board.  As it is with many of my crafts, I try to use what I have on hand (if at all possible) so this craft project didn't cost me a thing {dancing a little 'two step'...lol}!


I painted the base red, the frame green and seven of the tiles in a creamy white.  The remaining two tiles I spray painted with black chalkboard paint.


Searching through my craft supplies I found a can of glitter spray paint.  I thought since this is a Christmas craft why not add a little sparkle.  I've never used this product before so I had no idea how it would turn out.  The spray was a little uneven so there are places that are a little more "sparkly" than others, but I think it adds character to the board, don't you?


I wanted to add words to it so I pulled out the vinyl and my Silhouette machine and got to work.   Seriously, buying the Silhouette was the best investment I've ever made in my crafting.  I don't think I could love anything {inanimate that is} more than I do this machine...haha.  I also decided to design one of the squares into a Christmas tree using felt and the other into a gift using ribbon and a button.


With a little hot glue on the back of each well placed square, I have my finished Countdown to Christmas board hanging and ready for use!


Note: I took my son's chalkboard eraser and "erased" over the two chalkboard squares before writing on them in order to keep the numbers from making a permanent mark.


Now we are ready and I for one can't wait for the big day {as it also happens to be my birthday!}  Here's hoping you and your family have a great countdown to Christmas.

Linking up with these great parties:


Dixie n Dottie

September 3, 2012

Homework Station

A trip down Pinterest lane and I found some wonderful inspiration to help me with the organizational wall I wanted to add to my kitchen. With the little prince entering Kindergarten this year, I have been inundated with papers of all sort from his school and the pile was beginning to grow {and he started just over a week ago...lol}. I decided that I needed something to help keep me ahead of the game - enter our 'Homework Station'.

First, let me show you a couple examples that I found on Pinterest that I loved instantly:


This great organizational wall was pinned from One Creative Housewife

Here is another from A Bright Idea {sorry, still trying to find the correct link}


After seeing these, I knew this was exactly what I wanted to do to stay organized this year but I needed to find something that would work for the small wall I had in mind. Pinterest wasn't my only inspiration, I found two other ideas flipping through the Pottery Barn Kids magazine.


This idea struck me right away and I knew I wanted to incorporate this into the design


When I saw this, my eye was immediately drawn to the bungy board -- another element that was a "must add"

Of course being the frugal shopper that I am and living on a pretty strict budget, I knew that purchasing the items from Pottery Barn Kids was completely out the question but that didn't mean I couldn't create my own! The art clip board shown above costs $39, I was able to create it for just $8.50 thanks to Michaels -- unfinished wood board for $7.99 with a 50% off coupon and the oversized clothes pins for $1.50 each found in their dollar bin section {the paint I had at home}. The knock-off bungy board {PBK cost ~ $35} was a bargain too thanks to Michael's -- two canvases at BOGO free with a 40% off coupon for a total price of about $5 {antique white grosgrain ribbon I had on hand}.


Love my versions!

A look at the "Before" and "After":


I am simply overjoyed with the way this turned out! All of the design elements that I wanted and the best part - it's functional and cute {and well we all know how important cute is!}.

Linky Parties where we have fun!


Home is where the heart is. - Link it up! - Wednesdays - HomesteadSimple.com

June 29, 2012

Photo Block

Pictures, pictures, everywhere! After finishing the collage art frame (here), it was time to work on another photo project. This time I'm adding to the laundry room, a project (here) that is proving to take as long as the bedroom {slow and steady Angela....slow and steady - lol!}.

I purchased these great wood blocks from Pick Your Plum. As it is with many of the deals I get from PYP, I wasn't sure what I was going to do with them -- that is until now.


Beautiful wood block set

Since this project is for the laundry room, I'm using colors that are in the cushion we have on the top of the shoe container. If you remember, I didn't like the size of the cushion and was thinking I would return it and purchase something different. Well, that never happened and then I just got used to it so it stayed {does that ever happen to you?} I decided on the colors red and yellow since I wanted colors that pop. So I grabbed my cans of spray paint and went to work.


I picked a series of pictures I took of my son in the backyard to use for this. After some playing around with my printer, I was able to resize the photos and print them all on one sheet of 8 1/2 x 11 matte photo paper {this was such a huge deal for me...much like a kid learning to ride a bike -- it really is the small things in life that make me happy. Hahaha}

I decided to paint the edges of each of the smaller wood pieces in white so there would be some contrast to the red and yellow colors

After using mod podge to glue/seal the pictures and wood glue to adhere the smaller pieces to the base, I was ready to add the last little details. I found these great monogram/alphabet knobs on sale at Michaels for just $0.67 each and thought they would add a little character to the block as well as pull in the detail from the cushion. Adding hardware to the back for hanging purposes and using a trick on how to successfully hang pictures that I found on Pinterest, the photo block was ready to be added to the wall in the laundry room.

Hardware added

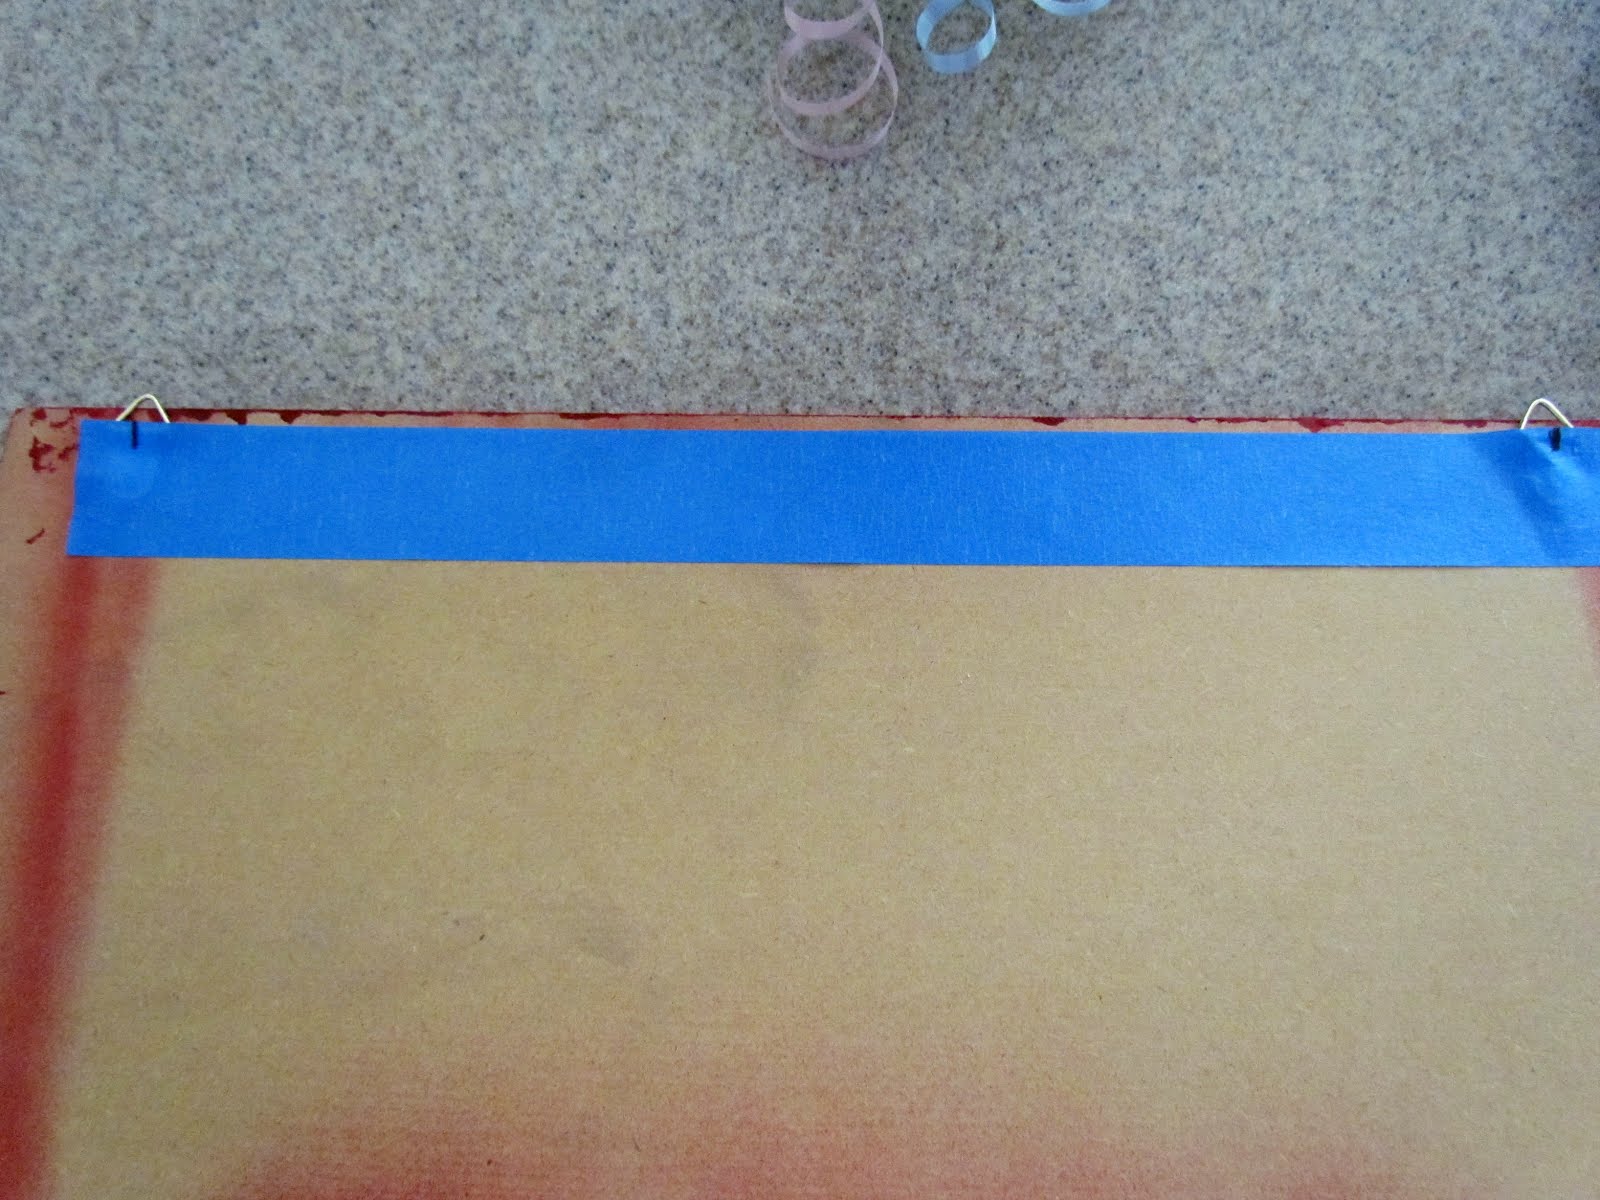
Using painters tape, I measured the distance between the two hardware hangers

Placing the same tape on the wall to know where to put the nails

Photo block on the wall

There is still more that I'd like to do to that space {still a lot of white wall to cover} but every step is one step closer to a finished project. I'm a happy crafter!


Where we party!

Visit thecsiproject.com

April 6, 2012

A Gift Box

It's time to clean up my craft area. I don't know about others, but my craft space is bursting at the seams with 'stuff'. I've recently made the promise to myself that I will try to limit my purchases and start using that rather hefty mound of craft supplies that is threatening to take over and perhaps swallow me whole {giggle}.

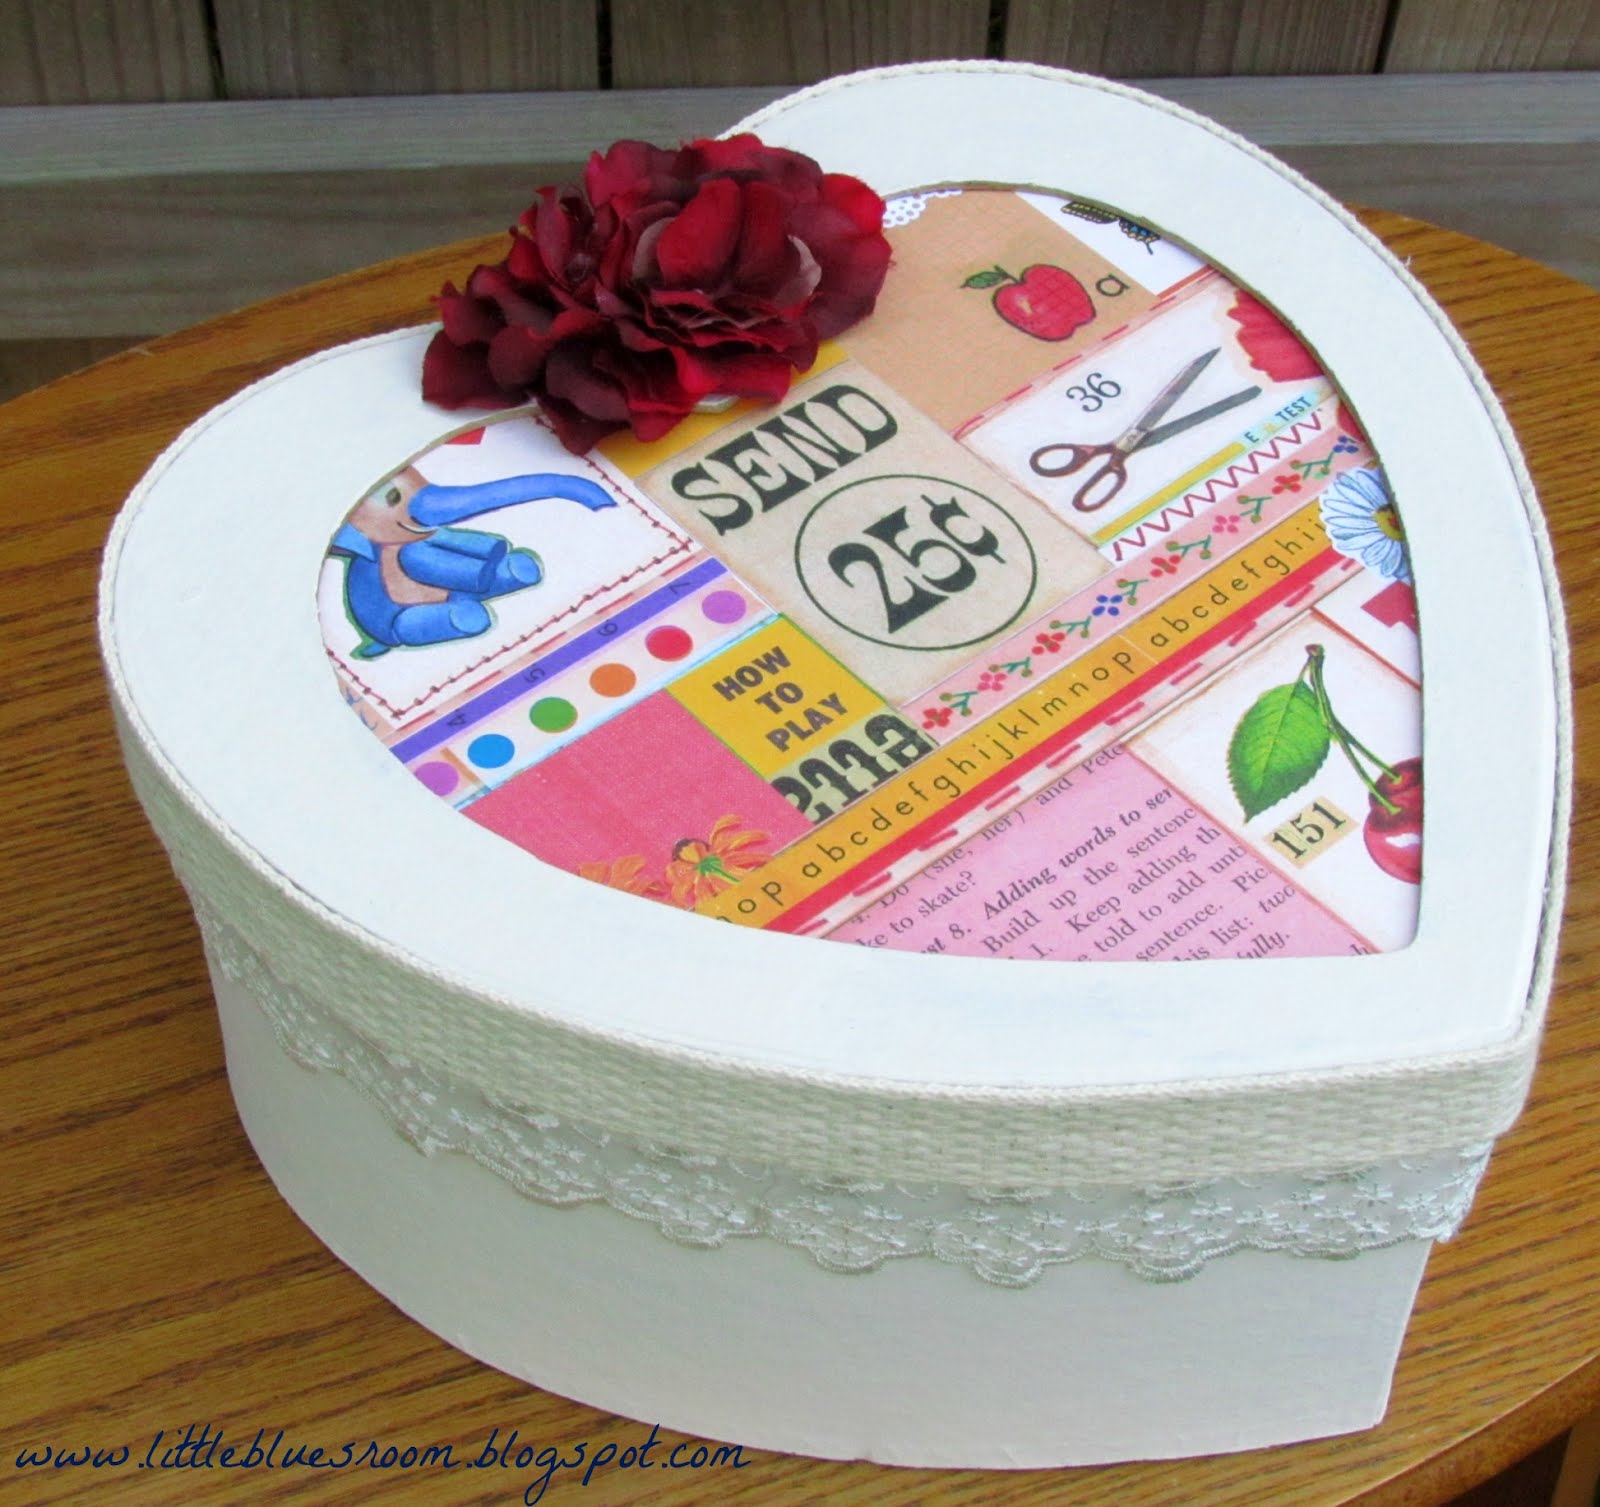
A while ago my sister gave me this great heart shape cardboard box. I completely forgot about it until the other day when I was cleaning my bedroom and found it stashed under my bed. So using some acrylic paint, scrapbook paper, flowers, lace and trim, this is what I came up with.


Perhaps this will make a wonderful end of the year teacher's gift box....just perhaps.

Related Posts Plugin for WordPress, Blogger...